Prime to Perfection: How Long to Wait Before Painting Over Primer
I’ve been there, staring at my freshly primed miniatures, brush in hand, itching to start painting. But there’s always that nagging question: How long should I wait after priming before I dive into the real deal? It’s a common dilemma for many of us in the miniature painting community.
From my experiences and a bit of research, I’ve found that the answer isn’t as straightforward as we’d hope. It hinges on a few factors, including the type of primer used and the conditions of your painting environment. Let’s dive into what I’ve learned about the waiting game between priming and painting.
Understanding Primer and Its Importance
Priming might seem like an unnecessary step, but trust me, it’s a game-changer for any painting project. Let’s dive into what makes primers so pivotal.
Functions and Benefits of Using Primer
Primer is not just an extra layer of paint; it’s the foundation that ensures the longevity and quality of your paint job. Here are a few reasons why I always use primer:
- Improved Adhesion: Primers are specially formulated to provide a surface that paint can adhere to more effectively. This means your paint job will last longer without peeling or chipping.
- Surface Protection: Using primer ensures that the surface beneath is better protected from elements, especially in high moisture areas. This is crucial for outdoor projects or rooms like bathrooms.
- Uniformity: Primer helps create a uniform surface for painting, covering up any stains, dark marks, or discrepancies in the surface’s texture. This means you get a smooth, even coat of paint across the entire area.
- Efficiency: A primed surface requires fewer layers of paint for complete coverage, especially when making dramatic color changes. This can save you both time and money on paint.
Different Types of Primers for Various Surfaces
Not all primers are created equal, and choosing the right one can make a big difference in the outcome of your project. Here’s a quick rundown:
- Oil-Based Primers: These are ideal for high-moisture areas or surfaces that are prone to staining. They’re great for wood, metal, and surfaces with existing glossy or oil-based paint. While they take longer to dry, they provide excellent durability and stain-blocking properties.
- Water-Based Primers: Also known as latex primers, these are versatile and can be used on many surfaces, including drywall, wood, and previously painted surfaces. They dry quickly, are easier to clean up, and emit fewer fumes than oil-based primers.
- Shellac Primers: The heavyweight champions for stain-blocking. These primers are the best choice for blocking severe stains and odors, including smoke and water damage. They work on almost any surface and dry incredibly fast, but they do emit strong fumes.
Choosing the right primer depends on the surface you’re working with and the conditions to which it will be exposed. Taking the time to select and apply the appropriate primer will pay off in the long run, guaranteeing a paint job that not only looks professional but also withstands the test of time and use.
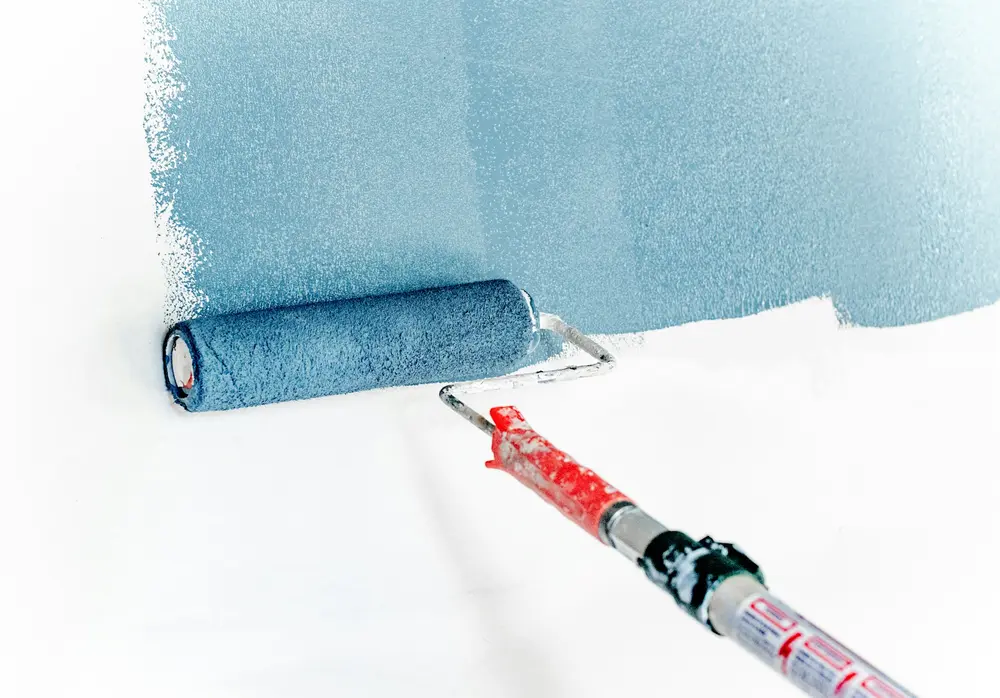
Ideal Waiting Time Between Priming and Painting
Venturing into any painting project, it’s essential to have a grasp on the optimal waiting period between applying primer and the topcoat. This waiting time can significantly influence the final look and durability of the paint job. Let’s dive into the general guidelines for various primer types and the factors that can affect drying and curing times.
General Guidelines for Various Primer Types
There are two types of primers commonly used in painting projects: oil-based and water-based primers. Each type has its own set of rules regarding drying time.
Oil-based primers are known for their durability and stain-blocking properties. According to guidelines, here’s what you need to know:
| Primer Type | Dry to Touch | Ready for Topcoat |
|---|---|---|
| Oil-Based | 30-60 minutes | 1-3 hours |
It’s crucial to allow an oil-based primer ample time to dry to the touch, which typically takes about 30-60 minutes in ideal conditions. However, for the best results, waiting 1 to 3 hours before applying the topcoat is recommended to ensure complete drying.
Water-Based Primers, on the other hand, are favored for their quick drying times and ease of use. The scenario looks a bit different here:
| Primer Type | Dry to Touch | Fully Cured |
|---|---|---|
| Water-Based | 60 minutes | Up to 24 hours |
While water-based primers dry to the touch in about 60 minutes, it’s advisable to wait up to 24 hours before proceeding with painting. This allows the primer to fully cure and ensures that the surface is perfectly prepped for the final coat.
Factors Influencing Drying and Curing Times
Several factors can influence the drying and curing times of primer. Being aware of these can help you plan your painting project more effectively.
- Temperature and Humidity: Ideal conditions for priming and painting are generally between 50°F and 70°F with a relative humidity below 50%. High humidity or lower temperatures can prolong drying times, while too high temperatures might speed up the drying too much, leading to poor adhesion.
- Ventilation: Adequate ventilation is crucial in speeding up the drying process. It helps in circulating air and reduces humidity levels around the painting area.
- Thickness of Application: Applying too thick a layer of primer can extend the drying time. It’s better to go for thinner, uniform coats and allow them to dry thoroughly before adding another layer if necessary.
Understanding these guidelines and factors can significantly impact the success of your painting project. They provide a foundation that ensures not just the beauty of the paint job but also its longevity and durability.
Touch Dry vs. Recoat Time
Definition and Significance of Touch Dry
When I talk about “touch dry,” I’m referring to the point at which the primer no longer feels sticky or tacky if lightly touched. It might seem like a small detail, but it’s actually crucial. Why? Because knowing when a primer is touch dry gives me an indicator that it’s starting to cure and is ready for a light sanding if needed. It also reassures me that the surface won’t be damaged by light contact, which is especially handy if I need to move around the room to paint other areas.
Understanding and Calculating Recoat Time
Recoat time is a whole different ball game. This measures the duration of time between coats of primer or paint are applied. Honestly, this is where patience plays a big part in painting. Recoat times can vary significantly depending on whether I’m working with an oil-based or water-based primer.
For example, oil-based primers generally require 1-3 hours to be touch dry, but a longer wait time before applying a topcoat is recommended. On the flip side, water-based primers might be touch dry in 60 minutes, yet I’ve learned it can take up to 24 hours for them to fully dry and be ready for the next coat.
| Primer Type | Touch Dry Time | Recommended Recoat Time |
|---|---|---|
| Oil-Based | 30-60 minutes | 1-3 hours |
| Water-Based | 60 minutes | Up to 24 hours |
Sticking to these timelines ensures that the primer has adequately adhered to the surface and has had enough time to cure. This patience pays off by making sure I don’t jump the gun and end up with a poor-quality finish that will haunt me for years. After all, the goal is a stunning, durable finish that stands the test of time.
Preparing to Paint After Priming
Once you’ve applied primer to your surface, waiting for the right moment to start painting is crucial. This waiting period ensures that the primer is properly set, providing the perfect canvas for your paint. Let’s dive into how to make sure your primed surface is really ready for that splash of color.
Ensuring Complete Dryness of Primer
The cornerstone of a great painting job is patience, especially when it comes to letting the primer dry. Whether it’s an oil-based or a water-based primer, rushing this step could mean trouble for your paint’s adhesion and overall finish. I’ve learned that it’s not just about touch dryness; you’ve got to ensure that the primer has completely cured.
For oil-based primers, that touch dryness happens in around 30-60 minutes, but I’ve found waiting 1-3 hours before applying paint really makes a difference. On the other hand, water-based primers might feel dry in 60 minutes, but giving them a good 24 hours to fully cure has always worked best for me. Trust me, adhering to these drying times prevents a lot of issues down the line.
Necessary Conditions for Optimal Paint Application
Optimal painting conditions go beyond just primer dryness. The environment plays a big role as well. Ideal conditions mean low humidity and moderate temperatures; I usually aim for between 50-85°F. High humidity or too low temperatures can mess with your paint’s drying and curing process, leading to unwanted textural imperfections or longer drying times.
In my workshop, I always check the weather forecast before starting a project. On a day that’s too humid or cold, I’ll either adjust my indoor environment accordingly or wait for a better day. It’s all about control and creating the perfect conditions for your paint to adhere and dry properly. Remember, a little patience goes a long way in achieving that flawless finish.
Potential Risks of Premature Painting
In my journey of transforming walls and surfaces, I’ve realized that rushing through the priming and painting process can lead to several unwelcome outcomes. Let’s delve into the primary risks associated with painting too soon after priming.
Adhesion Problems and Paint Durability Issues
One of the most Frustrating Consequences of premature painting is the issue with adhesion. When the primer hasn’t fully dried or cured, the paint layer can’t properly adhere to it. This results in peeling paint, bubbling, and cracking over time, sacrificing the durability and the aesthetic quality of the finish.
Additionally, the endurance of the paint is hugely compromised. A well-executed painting job should last years, but if the foundational primer layer is compromised, you might find yourself having to redo the paint job much sooner than anticipated. It is absolutely critical to ensure the primer layer has sufficiently dried to avoid these pitfalls.
How to Address Incomplete Primer Drying
If you’re eager to get painting but suspect the primer might not be fully dry, there are a few steps I take to mitigate risks:
- Patience is Key: Wait the recommended time for your specific type of primer. Oil-based primers generally need 1-3 hours to become touch dry, but ideally, you should wait even longer before painting. Water-based primers dry to the touch faster, in about an hour, but for the best results, I try to give it up to 24 hours.
- Test the Primer: If I’m uncertain whether the primer has dried completely, I’ll gently press a finger against the wall. If it’s tacky or leaves a fingerprint, it needs more time.
- Control the Environment: Factors like humidity and temperature significantly impact drying times. I always aim for low humidity and moderate temperatures to aid the drying process. Sometimes, using a dehumidifier or controlling the room temperature can help speed up the drying without compromising the outcome.
By taking these precautions, I ensure that my painting projects turn out as planned without the added headache of dealing with adhesion problems or having to re-do the work much sooner than expected.
Long-Term Consequences of Improper Primer Application
When I’m tackling a painting project, I’ve learned that taking shortcuts with primer application can lead to frustrating outcomes down the road. It’s not just about the wait time; it’s also how well it’s applied. Let’s dive into the potential long-term consequences of getting this step wrong.
Impact on Aesthetics and Paint Longevity
One of the first things I noticed when I didn’t wait long enough or applied primer unevenly was the impact on my walls’ aesthetics. The paint didn’t adhere as well, leading to an uneven finish that caught the light in all the wrong ways. I’ve seen bubbles, cracks, and peeling paint, all because the primer wasn’t given sufficient time to dry or was applied improperly. Moreover, these aesthetic issues aren’t just short-term problems. They can drastically reduce the longevity of your paint job. A wall that should have stayed pristine for years might need touch-ups or a complete redo much sooner. It’s disappointing to see your hard work and beautiful colors marred by such preventable issues.
Corrective Measures for Improperly Applied Primer
So, what can you do if you find yourself in this sticky situation? From my experience, corrective measures typically involve more work than getting it right the first time would have. However, they’re necessary to salvage your project. The first step is to assess the extent of the improper application. For minor issues, lightly sanding the area and reapplying primer might suffice. However, for more severe problems like bubbling or peeling, you might need to strip the paint back to bare walls and start from scratch.
Choosing the right tools and products for the corrective measures is crucial. High-quality sandpaper, a dependable primer (preferably one that dries quickly to speed up the process), and patience are your best allies here. Remember, it’s not just about fixing the problem. It’s about restoring the optimal conditions for your paint to shine, both literally and figuratively.
Additional Considerations for Specific Surfaces
In diving deeper into how long after priming you should wait before painting, it’s crucial to consider the type of surface you’re working with. Not all surfaces are created equal, and each has its unique characteristics that can affect both the primer drying time and the overall painting process.
Special Guidelines for New Drywall
When it comes to new drywall, patience is key. This surface absorbs primer quite differently compared to others. For new drywall, I’ve found that using a water-based primer is generally the best route. It’s less harsh on the porous surface and provides a decent seal. However, due to its absorbent nature, new drywall often requires a bit more time for the primer to fully dry and settle. Typically, a waiting period of at least 24 hours is recommended before applying the first coat of paint. This ensures that the primer is completely dry and has adequately sealed the surface, making it ready for a smooth paint application.
Adjusting Primer and Paint Application Based on Surface Type
Different surfaces call for different approaches, not just in terms of the primer you use but also how you apply it and how long you wait before painting.
- For glossy surfaces, it’s often necessary to lightly sand the area before applying primer. This helps create a texture for the primer to grip onto. In such cases, even a fast-drying primer should be given a minimum of an hour before painting, but I prefer to err on the side of caution and suggest a bit longer if time allows.
- When dealing with bare wood, it’s important to use a primer specifically designed for wood. These primers penetrate the surface and provide a suitable base for the paint. Bare wood can take a primer quite well, but due to the varying degrees of porosity, you might find that some areas dry quicker than others. After priming, waiting at least an hour before painting is a good rule of thumb. However, for heavier primers or in less-than-ideal conditions, waiting up to 24 hours can be beneficial.
- Metal surfaces, especially those that will be exposed to elements, benefit from using a rust-inhibiting primer. Drying times can vary significantly depending on the product. I generally recommend letting such primers dry for at least 24 hours to ensure they’ve had enough time to form a solid, protective layer before painting.
Adjusting your approach based on the surface type is crucial for achieving the best results. Knowing the peculiarities of each surface can save a lot of time and frustration, ensuring that the final paint job looks professional and lasts as long as possible.
Conclusion
Knowing when to paint after priming isn’t a one-size-fits-all answer. It’s all about the surface I’m working with and making sure I’ve got the right primer for the job. Whether it’s waiting a day for new drywall or adjusting times for glossy surfaces, bare wood, or metal, patience and preparation are key. I always aim for that professional finish that’ll last, and understanding these nuances makes all the difference. Happy painting!
FAQ – Frequently Asked Questions
Is it necessary to sand before applying primer on surfaces?
Not always. For new or smooth surfaces, sanding might not be necessary. However, for glossy surfaces or to ensure better adhesion, lightly sanding the surface before applying the primer is recommended.
Can primer affect the final paint job?
Absolutely. The right primer not only helps in better adhesion of the paint but also enhances the durability and appearance of the final paint job. Choosing the correct primer for the specific surface you’re working on is crucial for optimal results.
How long can I wait after priming before painting?
You can wait as long as needed after priming, as primer serves as a protective layer. However, to achieve the best results, painting within a week after priming is advisable, though not strictly necessary. Always ensure the primer is completely dry before overcoating.